Lab 8. Updating your Driver for Interactive Call Backs
In this lab, you’ll update your driver for interactive call backs. Call backs are a way to communicate changes the user is making in “real time” where your driver needs to intervene as the changes are made and before the user exits the current menu being displayed. These would be exception cases that the driver could interrupt the normal browser engine process.
To add call backs, the file HiiConfigAccess.cof your driver will be updated in the function MyWizardDriverHiiConfigAccessCallback. This function is called whenever any VFR items have a flag for INTERACTIVE set. So far, the previous labs did not have any call back items.
We can see this because there was a “Debug” call made in the MyWizardDriverHiiConfigAccessCallback function that never gets called:
HiiConfigAccess.c(line 331)
DEBUG ((DEBUG_INFO, "\n:: START Call back ,Question ID=0x%08x Type=0x%04x Action=0x%04x", QuestionId, Type, Action));
Lab 8a. Add the Case statements to the Call back routine
- Update the HiiConfigAccess.c file
Add the following code before
return status; to include a “case” statement in the call back routine for the “action” passed. | Add the following code at approx. line 343 before:
return status;//Begin Code switch (Action) { // Start switch and passed param Action case EFI_BROWSER_ACTION_FORM_OPEN: // 3 { } break; case EFI_BROWSER_ACTION_FORM_CLOSE: // 4 { } break; case EFI_BROWSER_ACTION_RETRIEVE: // 2 { } break; //End Code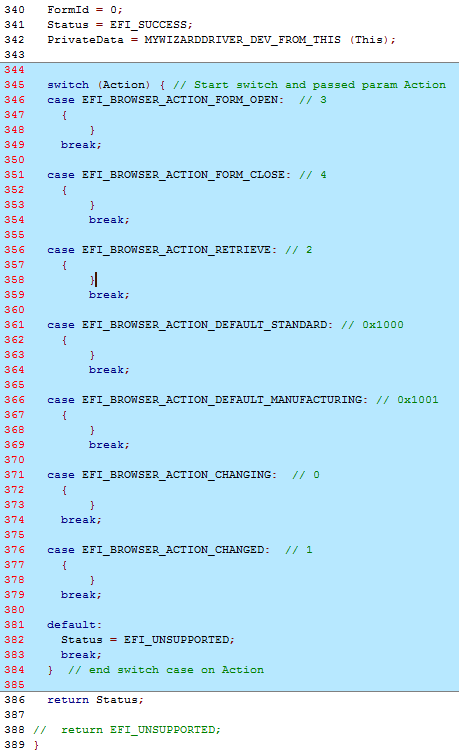
- Save HiiConfigAccess.c
Build and test MyWizardDriver
- Open the Visual Studio Command Prompt
- Type build
- Type build run
- At the UEFI Shell prompt,type exit
- Now at the setup front page menu, select “Device Manager”
- Inside the Device Manager menu press the down arrow to “My Wizard Driver Sample Formset” Press "Enter"
- Notice the debug messages in the Visual Studio Command Prompt – build run Window (No Debug messages for Call back)
 . . .
. . .

- Press “Escape” and another "Escape" to exit the “Device Manager”
- Select “Continue” and then Press "Enter”
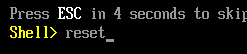
- Type “reset” at the Shell prompt and then Press “Enter” to return to the Visual Studio Command Prompt
Lab 8b. Update the Menu for Interactive items
- Update the MyWizardDriver.vfr file
- Now, you’ll add the flag characteristic
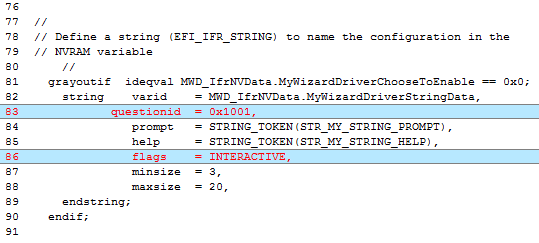
INTERACTIVEto the string item’s flags by using keywordINTERACTIVEandquestionid. Add the following code in the location shown below:
Approx. line 83 and line 86
questionid = 0x1001,
flags = INTERACTIVE,
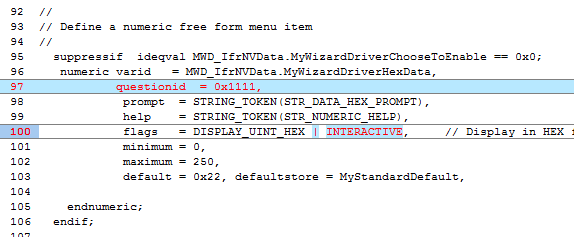
- Include the numeric item by adding the following code in the location shown below, Approx. line 97 and line 100
questionid = 0x1111,
| INTERACTIVE ,
- Save MyWizardDriver.vfr
Build and test MyWizardDriver
- Open the Visual Studio Command Prompt
- Type build
- Type build run
- At the UEFI Shell prompt,type exit
- Now at the setup front page menu, select “Device Manager”
- Inside the Device Manager menu press the down arrow to “My Wizard Driver Sample Formset” Press "Enter"
- Take a moment and review the Visual Studio build run command prompt window
- In the emulation window, click on “Name of Configuration” and “Enter ZY Base(Hex)”
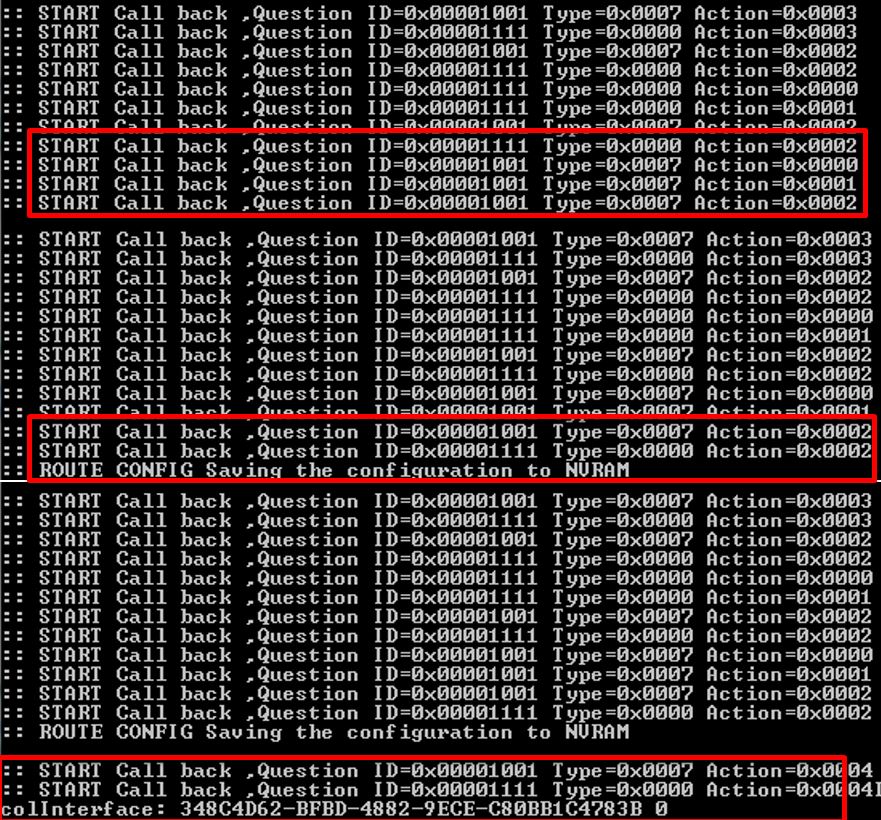
- Notice the following in the Visual Studio Command Prompt window:
Every time the browser does anything with the interactive labeled fields there is a call made to your driver’s call back function. We can determine which item by thequetionidand what action by the Action passed to your call back function. Your call back function can then add code to special case when these transitions occur.
Entering Form Changing a Value for Question ID 0x1111
 Changing a Value for Question ID 0x1001
- Press “Escape” and another "Escape" to exit the “Device Manager”
- Select “Continue” and then Press "Enter”
- Type “reset” at the Shell prompt and then Press “Enter” to return to the Visual Studio Command Prompt

For any build issues copy the solution files from C:\Fw\LabSolutions\LessonE.8
NOTE: Del Directory C:\fw\edk2\Build\NT32IA32\DEBUG_VS2010x86\IA32\MyWizardDriver before the Build command to build the MyWizardDriver Clean.